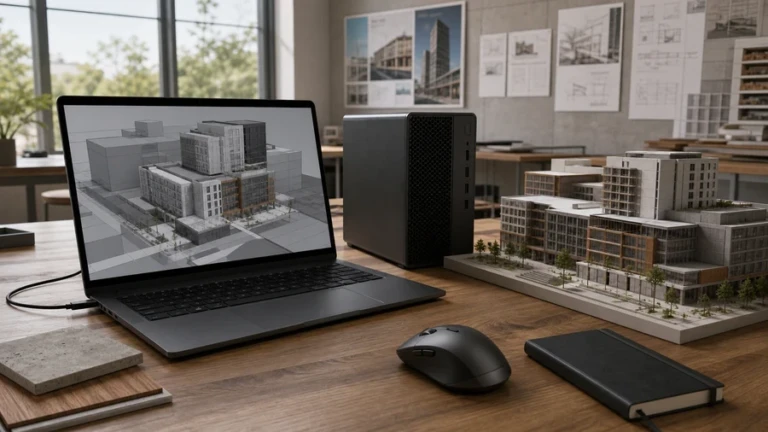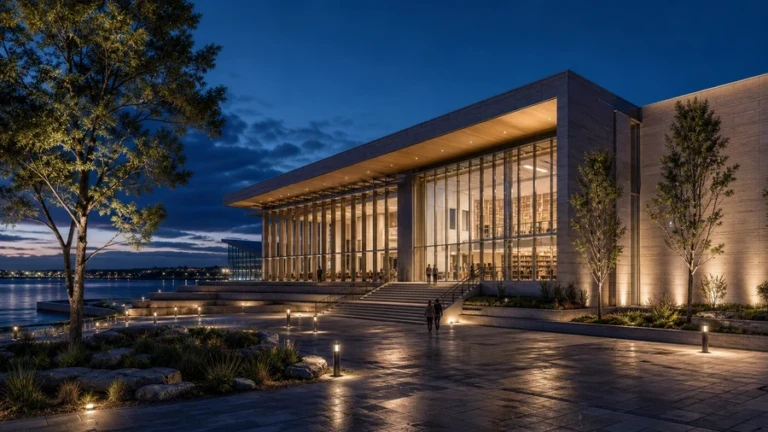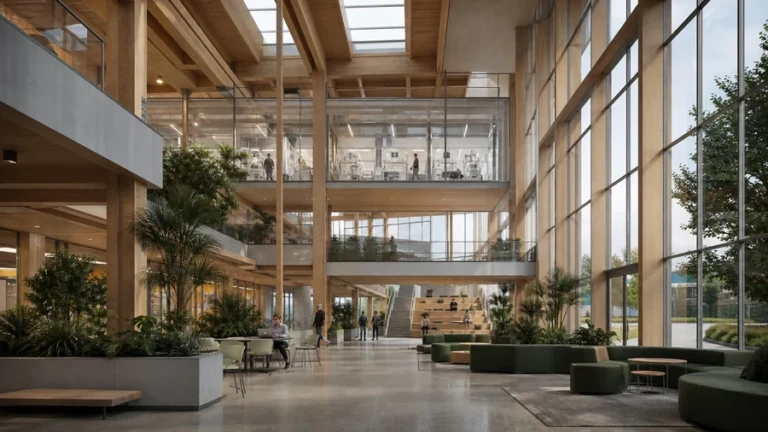

A polished concept image can appear in minutes. But if a balcony changes proportion, a window disappears, or the roof quietly grows another floor, it is no longer your design. SketchUp 2026.1 AI Render is most useful when treated as a fast visual collaborator—not as an architect with permission to redesign the building.
This guide focuses on a practical architectural workflow. We will use AI to explore atmosphere, materials, planting, and time of day, then check every result against the model. You will also see where AI Render should stop and a controlled renderer such as Lumion, Enscape, V-Ray, or D5 Render should take over.
What SketchUp 2026.1 AI Render actually does
SketchUp describes AI Render as a tool that combines the active model viewport with a text prompt or preset style to create a new image. It can control prompt influence, work on selected areas with masks, use a reference image, overlay a result on the model, and save the output.
Its advantage is speed. From one camera, you can test soft morning light, darker timber, a tropical garden, or a restrained editorial mood before building a complete rendering setup. Its limitation comes from the same generative process: AI can invent details that look plausible but do not exist in the model.
A useful rule: use AI Render to explore how a design might feel; use the model and a conventional renderer to confirm what the design actually is.
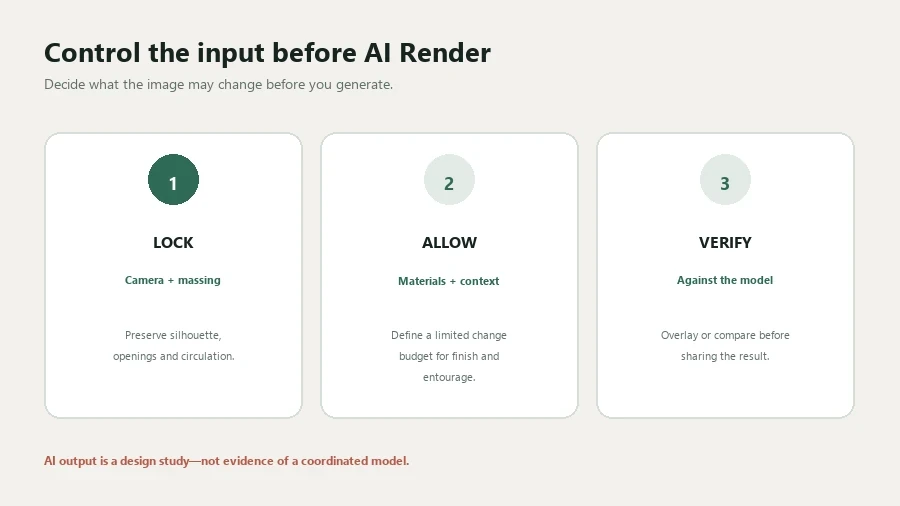
A nine-step workflow that protects the design
1. Clean the model before writing a prompt
AI cannot rescue an indecisive view. Remove stray objects, correct reversed faces, and make the building silhouette easy to read. Keep important geometry visible. If planting hides half the facade, the generator must guess what is behind it.
2. Lock a camera that tells one clear story
Decide what the image is meant to communicate: overall massing, facade materials, the relationship with the garden, or an interior sequence. A two-point perspective often gives exterior architecture a more stable appearance. Save the camera as a Scene before experimenting so you can always return to the same view.
3. Assign simple, legible materials
You do not need to finish every material. Concrete, glass, timber, roof surfaces, and planting should at least be visually distinct. A clear viewport gives AI better evidence and makes later comparison easier. SketchUp’s current material workflow also supports PBR textures and environments when a more descriptive starting image is needed.
4. Start with restrained prompt influence
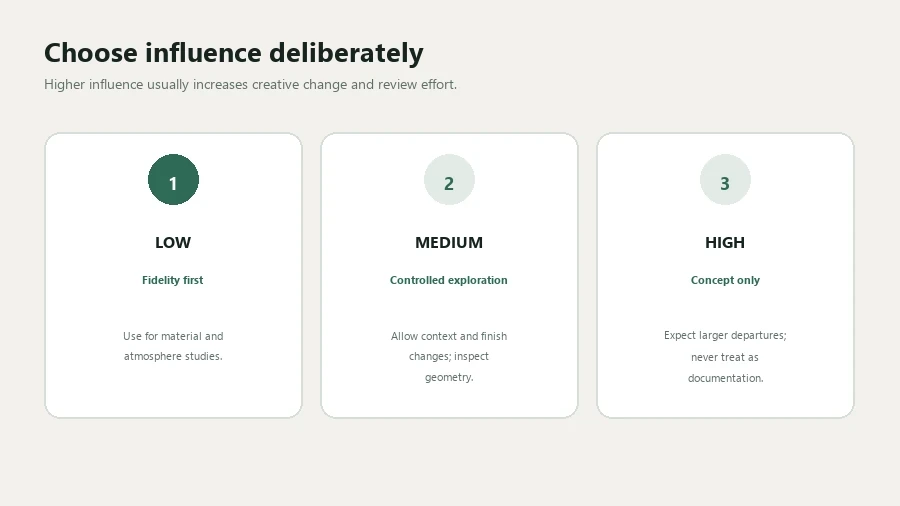
Do not push the prompt to its strongest setting on the first generation. Begin conservatively and watch whether the tool respects the massing. Once the structure remains stable, increase the influence gradually to explore mood. The comparison below uses the same pavilion from controlled to more interpretive output.

5. Build the prompt in six layers
A controllable architectural prompt can follow this order: building type → materials → light → landscape → camera → geometry constraints.
Contemporary tropical villa, fair-face concrete and warm teak soffit, soft morning light, restrained tropical planting, eye-level architectural photography, preserve the original massing, openings, roofline and camera perspective.Avoid filling the prompt with vague superlatives such as “masterpiece,” “stunning,” or “award-winning.” Those words can increase drama, but they do not tell the system which parts of the architecture must remain unchanged.
6. Mask a problem instead of regenerating everything
If the sky, planting, or one wall material needs adjustment, select only that region. A local edit reduces the chance that AI will alter a column, door, or roof edge elsewhere. SketchUp’s Paint, Erase, and Sketch tools are designed for this kind of targeted refinement.
7. Use reference images with a narrow purpose
A reference works best when it communicates one thing clearly: a lighting quality, planting density, palette, or photographic composition. A reference with strong architecture of its own can pull the output toward somebody else’s building. In tools that offer a reference-strength control, start low and increase it only when the original geometry stays intact.
8. Compare the result with the original Scene at full size
Do not approve a thumbnail. Place the model view and generated image side by side, then inspect the column rhythm, opening positions, floor levels, roof thickness, stairs, railings, and shadow direction. If a project-defining element has changed, repair the selected area or return to a lower influence setting.
9. Label the result honestly
When sharing the image with a client, mark it as an “AI-assisted concept image.” This prevents an atmospheric material, landscape element, or construction detail from being mistaken for an approved and costed specification.
Three prompts you can adapt immediately
Tropical exterior in daylight
Contemporary tropical residence, exposed concrete, natural teak and clear glass, soft overcast daylight, layered native planting, realistic architectural photography, preserve all original geometry, openings and camera angle.Warm minimalist interior
Minimal warm living room, lime plaster walls, light oak furniture, linen upholstery, diffused daylight from the existing windows, calm editorial interior photography, keep the original room dimensions, ceiling, doors and window positions.Early-evening mood study
Early evening architectural visualization, warm 3000K interior lights, subtle landscape lighting, physically plausible reflections, quiet residential atmosphere, preserve the building massing and facade rhythm, no additional floors or openings.Video walkthrough: AI Render in a real SketchUp workflow
When AI Render is the right tool—and when it is not
Use it for
- Early mood and atmosphere studies
- Material and color exploration
- Landscape direction
- Time-of-day alternatives
- Fast internal design conversations
- Concept images with clear disclaimers
Move to a controlled renderer for
- Construction or dimensional review
- Verified materials and lighting
- Consistent multi-view presentations
- Panoramas, VR, and animation
- Detailed reflection and shadow studies
- Final client-approved imagery
Pre-delivery checklist
- The camera and overall proportions still match the saved Scene.
- No doors, columns, floors, or roof elements have been invented.
- Concept materials cannot be confused with approved specifications.
- Planting does not block access or imply an impossible detail.
- The image is labelled as AI-assisted concept artwork.
- The SketchUp model remains the source of truth.
A better way to think about architectural AI
AI Render does not replace modelling or rendering skill. Its real value is shortening the distance between a vague idea and an image clear enough for a useful conversation. The best prompt is not simply “make this beautiful.” It defines what AI is free to explore—and what it is not allowed to change.
If you would like a follow-up, share a SketchUp view and a short description of the intended materials and light. LumionVietnam can select representative examples for a future prompt and geometry-control clinic.
Sources and further reading
Continue Exploring