Lumion 2026.1 solves two very different production problems: repetitive material layouts that never quite match the design, and panoramic presentations that feel flatter than the still images approved by the client. The new Pattern Editor and ray-traced 360 panoramas address both—but each needs a controlled workflow.
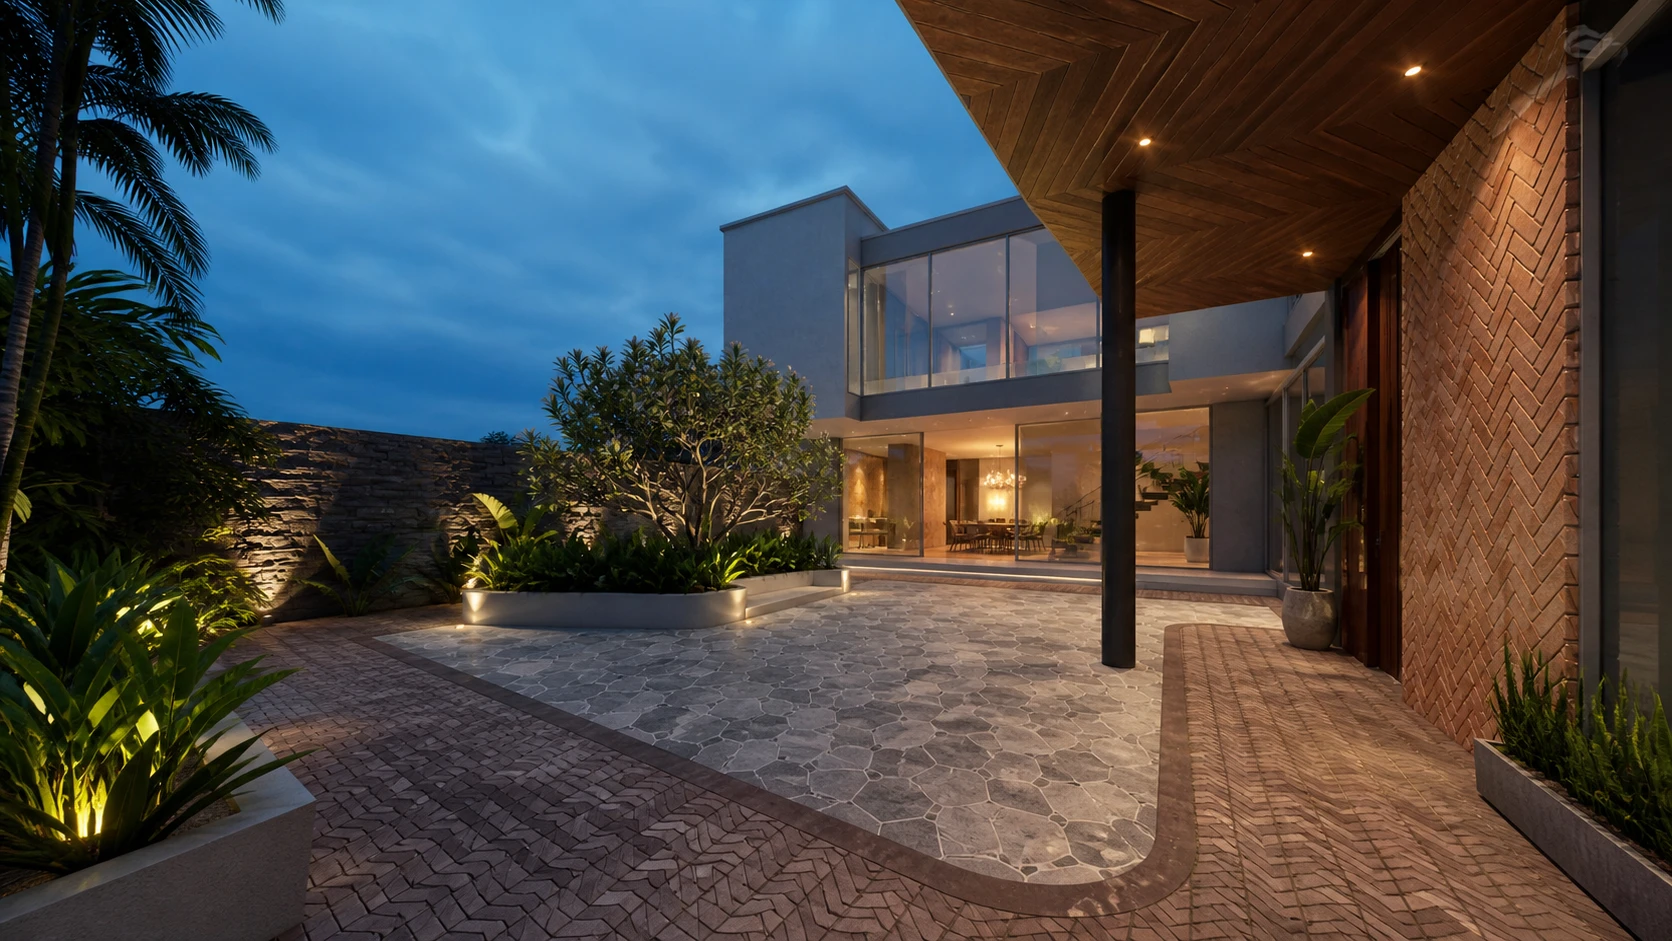
Why Lumion 2026.1 matters in a real project
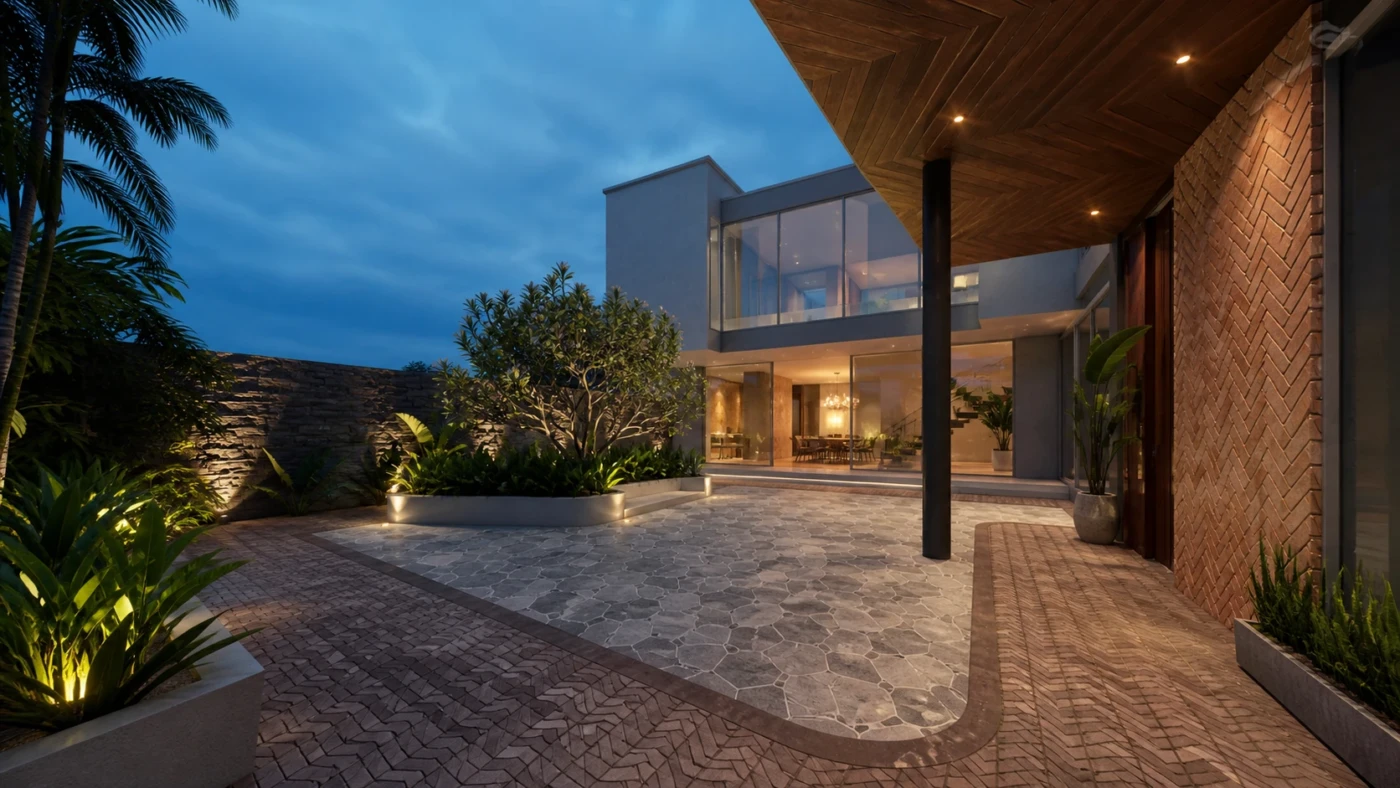
A material can be physically plausible and still look wrong. The texture may be the right brick, yet the bond is incorrect. A timber floor may have the right color, but the chevron is oversized. Until now, correcting those layouts often meant rebuilding texture maps in another application. Lumion 2026.1 moves much of that work into the material editor.
The release also adds ray tracing to Panorama Mode. That brings 360 output closer to the reflection, shadow, and lighting quality architects already expect from Lumion’s ray-traced stills. It is not a universal “quality” switch, however: output resolution and several scene effects are restricted, and some animated or specialized objects are not rendered through the panorama ray-tracing pipeline.
Pattern Editor: the controls that actually change the result
Enable Pattern in the advanced settings of a compatible material. You can then start from layouts including common bonds, chevron, basket weave, hexagon, and herringbone. The preset is only the beginning. A believable result depends on five groups of decisions.
1. Choose the bond before choosing the color
Start with the construction logic. Running bond, stack bond, herringbone, and chevron communicate different joint structures and installation costs. Confirm the intended layout with the design team before polishing hue and roughness.
2. Calibrate scale with a known dimension
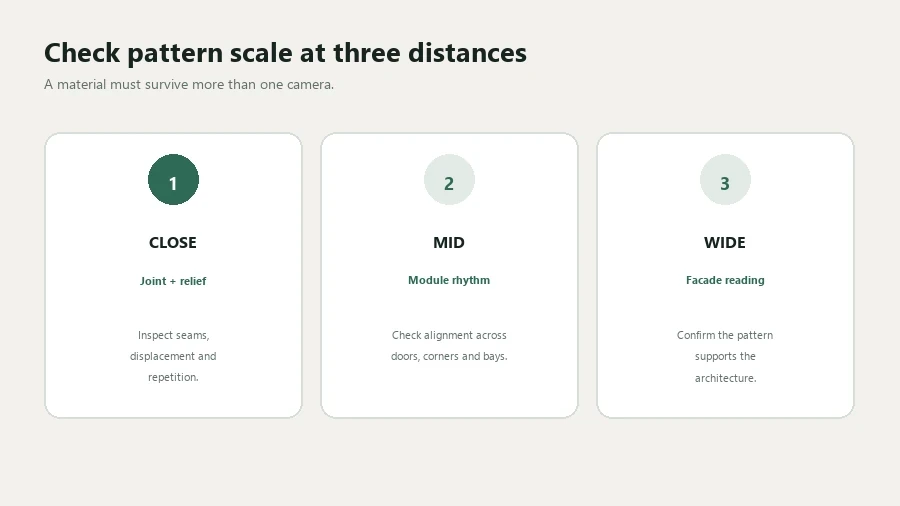
Place a door, step, or person close to the test surface. Adjust horizontal and vertical tiling until an individual unit reads at a credible size. Do not judge scale from an isolated close-up: the same brick that looks detailed near the camera may become a noisy pattern across an entire facade.
3. Use offset and rotation deliberately
Offset establishes the bond; rotation establishes direction. On floors, pattern direction can guide the eye toward a view or make a narrow room feel longer. On facades, an accidental 90-degree change is immediately visible at corners. Save a test view that includes at least one junction.
4. Keep variation below the point of distraction
Color and positional variation break repetition, but too much variation makes a premium material look distressed. Begin close to zero, then increase it while viewing the full elevation. The right setting is usually the first level at which obvious tiling disappears—not the strongest setting available.
5. Treat bevel and grout as lighting controls
Bevel catches highlights and gives joints depth. Grout width and color determine whether the pattern reads quietly or dominates the image. Review these settings in both daylight and oblique artificial light, because grazing illumination can exaggerate every joint.
Material review sequence:
bond → real-world scale → direction/offset → variation → bevel → grout → roughness
A reliable material test workflow
- Duplicate the material before enabling a new pattern.
- Create three saved cameras: close detail, typical viewing distance, and full elevation.
- Use neutral daylight while setting scale and bond.
- Add variation only after the base layout is correct.
- Check corners, thresholds, and material transitions.
- Render one final test under the project’s presentation lighting.
Practical rule: if the pattern only works from the hero camera, it is not ready for an animation or panorama.
Ray-traced panoramas: what improves
Ray tracing is especially valuable in interiors and sheltered exterior spaces where reflections, glass, indirect light, and soft shadows help viewers understand depth. A 360 presentation exposes every direction, so inconsistencies that remain outside a still camera’s frame become visible. Review the whole panorama, including the direction opposite the intended focal point.
Know the current limits
Lumion’s official release notes specify Draft output at 3072×1536 and Medium at 4096×2048 for ray-traced panoramas; Large 8192×4096 is not currently available. Stereoscopic output and cubic projection are disabled. Animated characters, flags, text objects, decals, several effect objects, clipping planes, ocean and water planes, 3D grass/fur/foliage materials, weathering, and a number of atmospheric output effects may not appear in this pipeline.
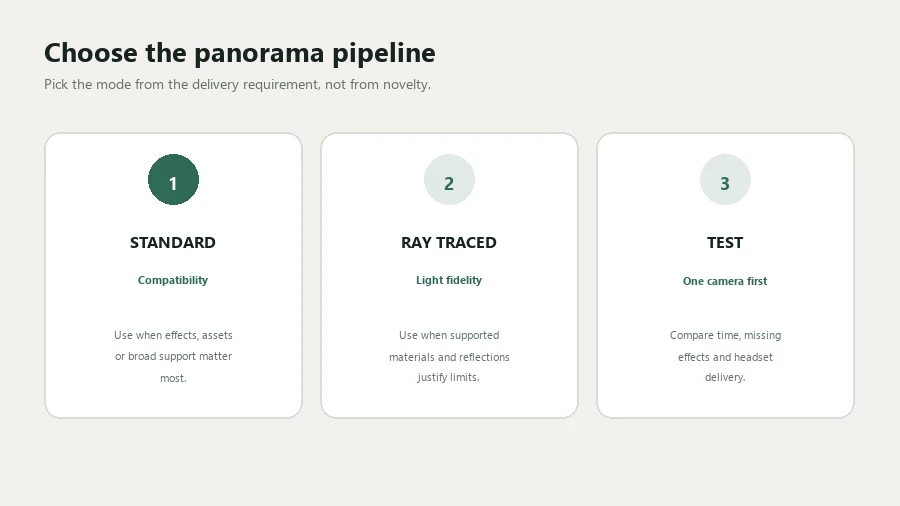
Those constraints make a preflight essential. A standard panorama can be the safer choice when the scene depends heavily on excluded features or when the delivery platform requires a higher resolution.
Panorama preflight checklist
- Update to Lumion 2026.1.1 or later; Lumion recommends it to address a save/load issue affecting larger scenes.
- Confirm that every project-critical object and material is supported in the ray-tracing pipeline.
- Remove temporary geometry, hidden lights, and assets outside the useful viewing area.
- Check glass and water carefully; fully ray-traced settings are permanently enabled in this mode.
- Test at Draft resolution before committing to Medium.
- Inspect the zenith, nadir, and the view behind the starting direction.
- Keep a standard panorama fallback if the client’s viewer or headset requires it.
Where the two features work together
Pattern Editor and ray-traced panoramas are most useful together in material-led spaces: hotel lobbies, retail interiors, courtyards, restaurants, and residential rooms with detailed floors or feature walls. The pattern gives the surface architectural specificity; ray tracing makes its relief, joints, and reflection response easier to perceive as the viewer turns.
But the panorama is an unforgiving review format. Repetition, wrong scale, and abrupt changes at corners are more obvious than in a carefully cropped still. Finish the material from every relevant angle before presenting the 360 output.
Final recommendation
Use Pattern Editor early enough to influence design decisions, not only as post-production decoration. Use ray-traced panoramas selectively, when spatial immersion and material response matter more than maximum resolution or unsupported effects. Together, they can reduce external texture work and raise presentation quality—as long as the scene is tested as a complete environment.
Sources and further reading
Continue Exploring