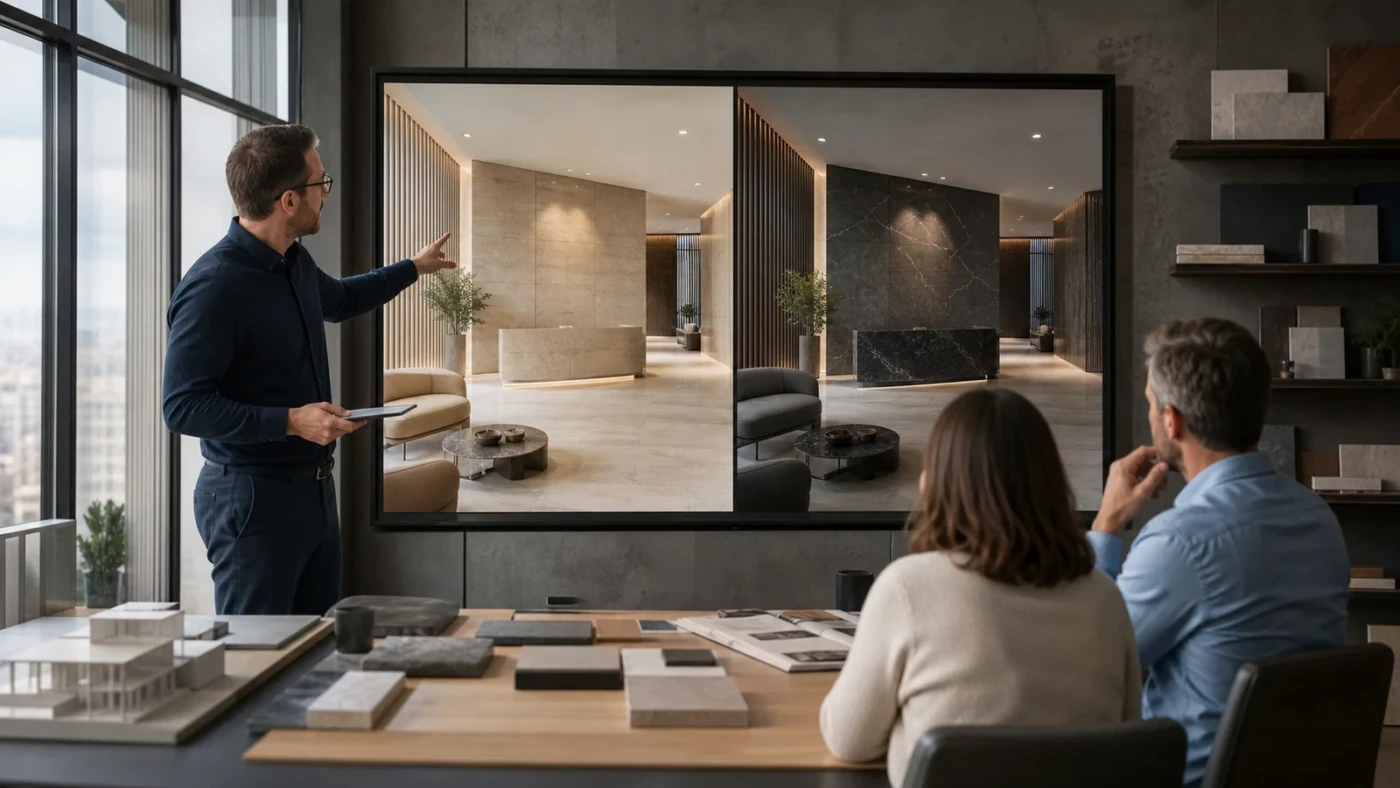
D5 Render 3.1 turns a finished scene into a presenter-led design review. This practical tutorial builds one material comparison from start to finish, then extends it with furniture states, spatial triggers, slides, and local-network browser streaming.
D5 Render 3.1 is a sensible tutorial choice for architects in 2026 because it sits in a fast-growing part of the visualization market: real-time rendering that continues into client presentation. Recent 2026 industry guides place D5 beside Lumion, Enscape, Twinmotion, and V-Ray, while D5’s July 2026 release makes Interactive Presentation its headline workflow feature.
The important idea is not “make everything clickable.” A useful presentation should help a client decide between a small number of prepared alternatives while the camera, lighting, and design context remain controlled. In this guide, we will create a lobby review with two floor finishes, two furniture arrangements, and an optional daylight state.
What Interactive Presentation does in D5 Render 3.1
Interactive Presentation combines three elements that should be understood separately:
| Element | Purpose | Example in this tutorial |
|---|---|---|
| Variable Set | Stores alternatives for one design decision. | Warm limestone versus dark terrazzo. |
| 3D Trigger | Provides an in-scene control for switching states. | A marker beside the lobby floor. |
| Slide | Saves the camera and activates the relevant choices. | A fixed reception view with floor and furniture options. |
D5 supports variable sets for materials, object attributes, environment and post-processing, visibility, transforms, and shots. That makes the system useful for facade studies, interior finish approvals, furniture planning, time-of-day reviews, lighting discussions, and landscape alternatives.
Before you begin: version, hardware, and scene preparation
Open D5 Launcher, sign in, select the Workflow area, and update or install D5 Render 3.1. Duplicate the project before opening it in a new version. D5 states that older projects can be opened without a separate conversion step, but exposure, fog, or material appearance can vary depending on how the original scene was built.
D5 Render requires Windows 10 version 1809 or later and a ray-tracing-ready GPU. The official baseline is NVIDIA GTX 1060 6 GB or above, AMD Radeon RX 6000 XT or above, or Intel Arc A3 or above. Treat that as an entry requirement, not a promise of smooth client presentation for a complex project. For a live review, test the complete scene on the actual display and workstation you will use.
- D5 Render reports version 3.1.
- The project has a separate backup copy.
- The lobby camera is saved and exposure is locked.
- The two floor materials are already tested under identical lighting.
- Furniture options are organized so they can be hidden or transformed cleanly.
- The scene runs smoothly before presentation controls are added.
If the viewport already stutters or reports memory pressure, fix the scene first. Use our GPU-memory troubleshooting workflow before promising a live review.
Step 1: define one decision and lock the comparison
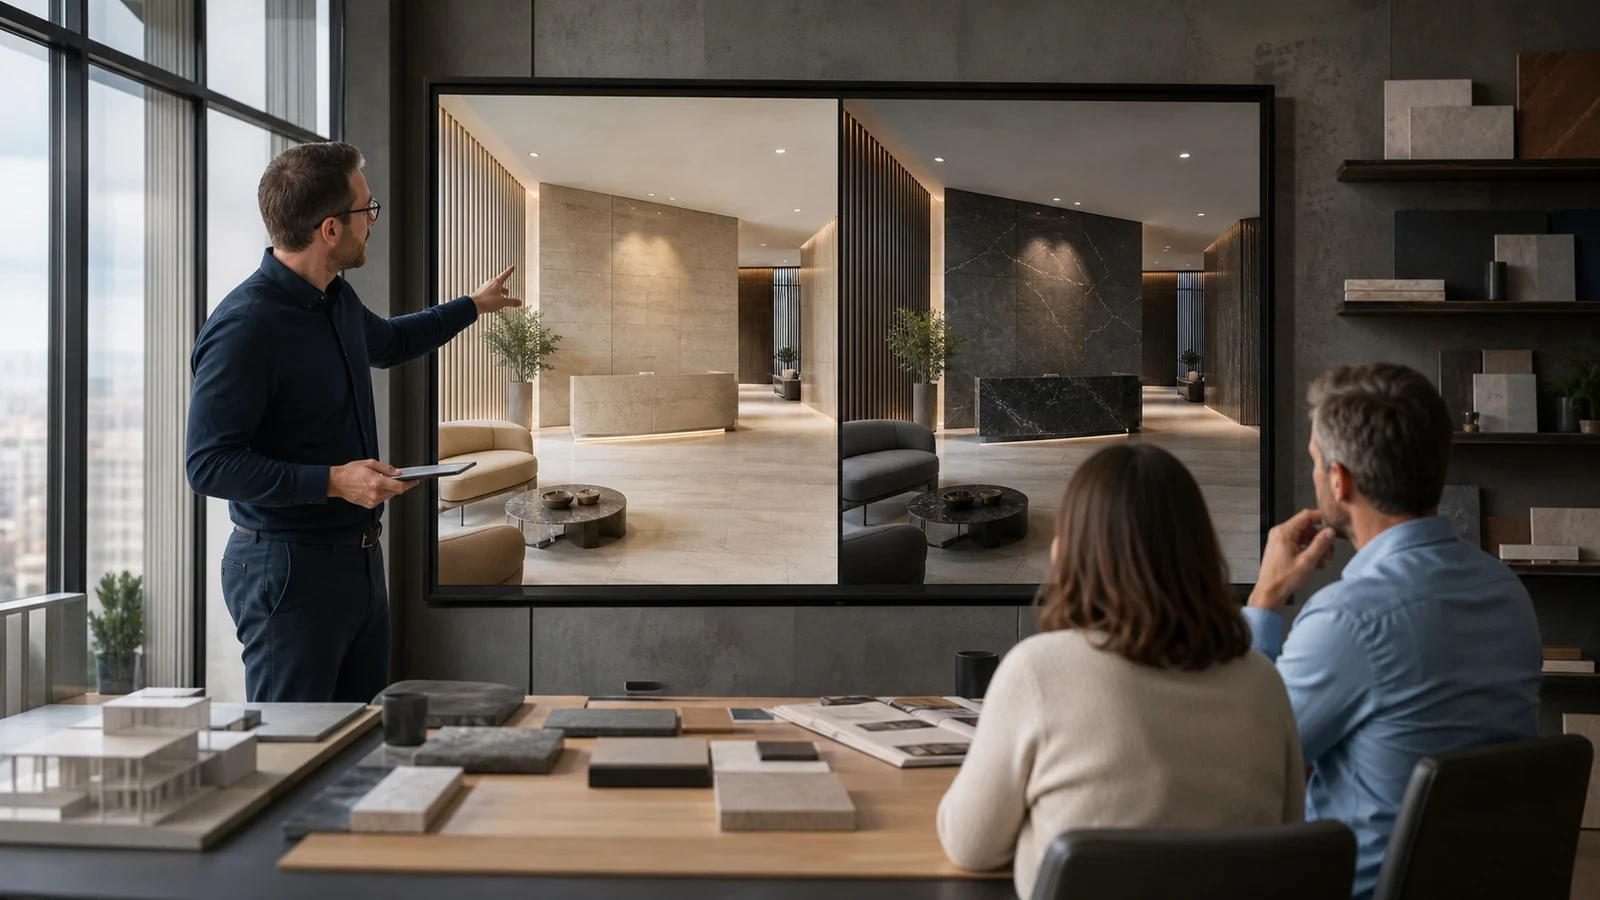
Start with one question the client can answer: Should the lobby use warm limestone or dark terrazzo? Keep the camera, sun position, artificial lights, furniture, exposure, and post-processing unchanged. If several variables change at the same time, the audience cannot judge what caused the difference.
- Open the prepared lobby scene and save a fixed reception camera.
- Apply the warm limestone material and confirm scale, mapping, roughness, and normal strength.
- Duplicate or record the dark terrazzo alternative using the same mapping scale.
- Check both states at full-screen presentation resolution. Correct visible seams or exposure clipping before continuing.
- Limit the first comparison to two states. Add a third only when it represents a genuinely different design direction.
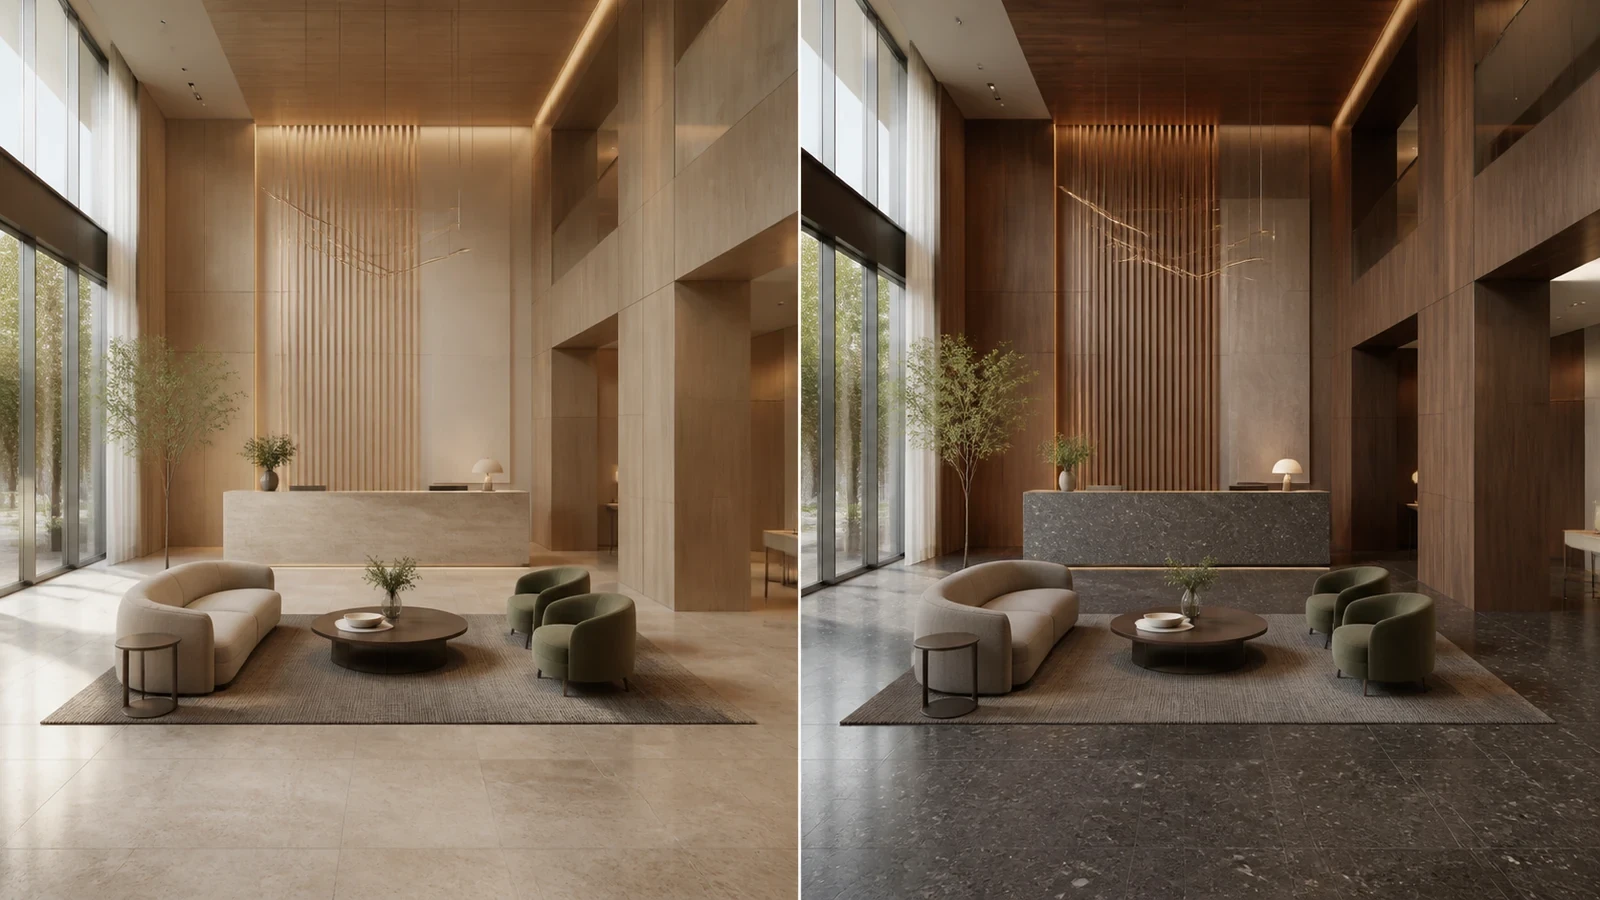
Step 2: create the Material Variable Set
- Click Presentation in the top menu to enter the presentation editor.
- Create a new presentation and give it a project-specific name such as
Lobby Design Review 01. - In the interactive settings, create a new Material Variable Set.
- Name it by the decision, for example
Lobby Floor Finish, rather than by a vague label such asMaterials. - Set the lobby floor to warm limestone and select Add State. Rename the state
Warm Limestone. - Change only the floor material to dark terrazzo, select Add State again, and rename it
Dark Terrazzo. - Switch between both saved states and verify that no unrelated object, light, or camera changes.
Step 3: add furniture and lighting alternatives without losing control
Create a separate Variable Set for every question. For furniture options, use Visibility when two complete groups occupy the same area, or Transform when the same objects move between layouts. For daylight and evening, use an Environment and post-processing set.
- Group the lounge-focused furniture option and the reception-focused option separately.
- Create a Visibility Variable Set named
Lobby Furniture Layout. - Show only Layout A and save the first state.
- Show only Layout B and save the second state.
- Create an Environment set only if the lighting study is relevant to the meeting.
- Save a daylight state and an evening state without changing floor or furniture options.
This separation makes problems easier to diagnose. If the floor changes incorrectly, inspect the material set; if an armchair remains visible, inspect the visibility set. A single “change everything” state may look impressive but is difficult to explain and maintain.
Step 4: place a 3D Trigger at the decision point
D5 provides two trigger types. An Actor is an independent marker placed in the scene; an Object uses a selected model object itself as the control. An Actor is easier to discover during a guided walkthrough. An Object trigger is visually cleaner when the clickable surface is obvious.
- Select Add 3D Trigger and choose Actor for the floor comparison.
- Move the marker beside the reception area where it is visible but does not hide the design.
- Bind the trigger to
Lobby Floor Finish. - Choose Toggle for two ordered states. Each click will move to the next option.
- Use List instead when the presenter must jump directly among several states.
- Add a short text label such as
Floor Finish, or use a clear icon. - Enable Always Face Camera if the marker must remain legible while the camera moves.
- Use Set Linked Object when a trigger should follow a moving model.
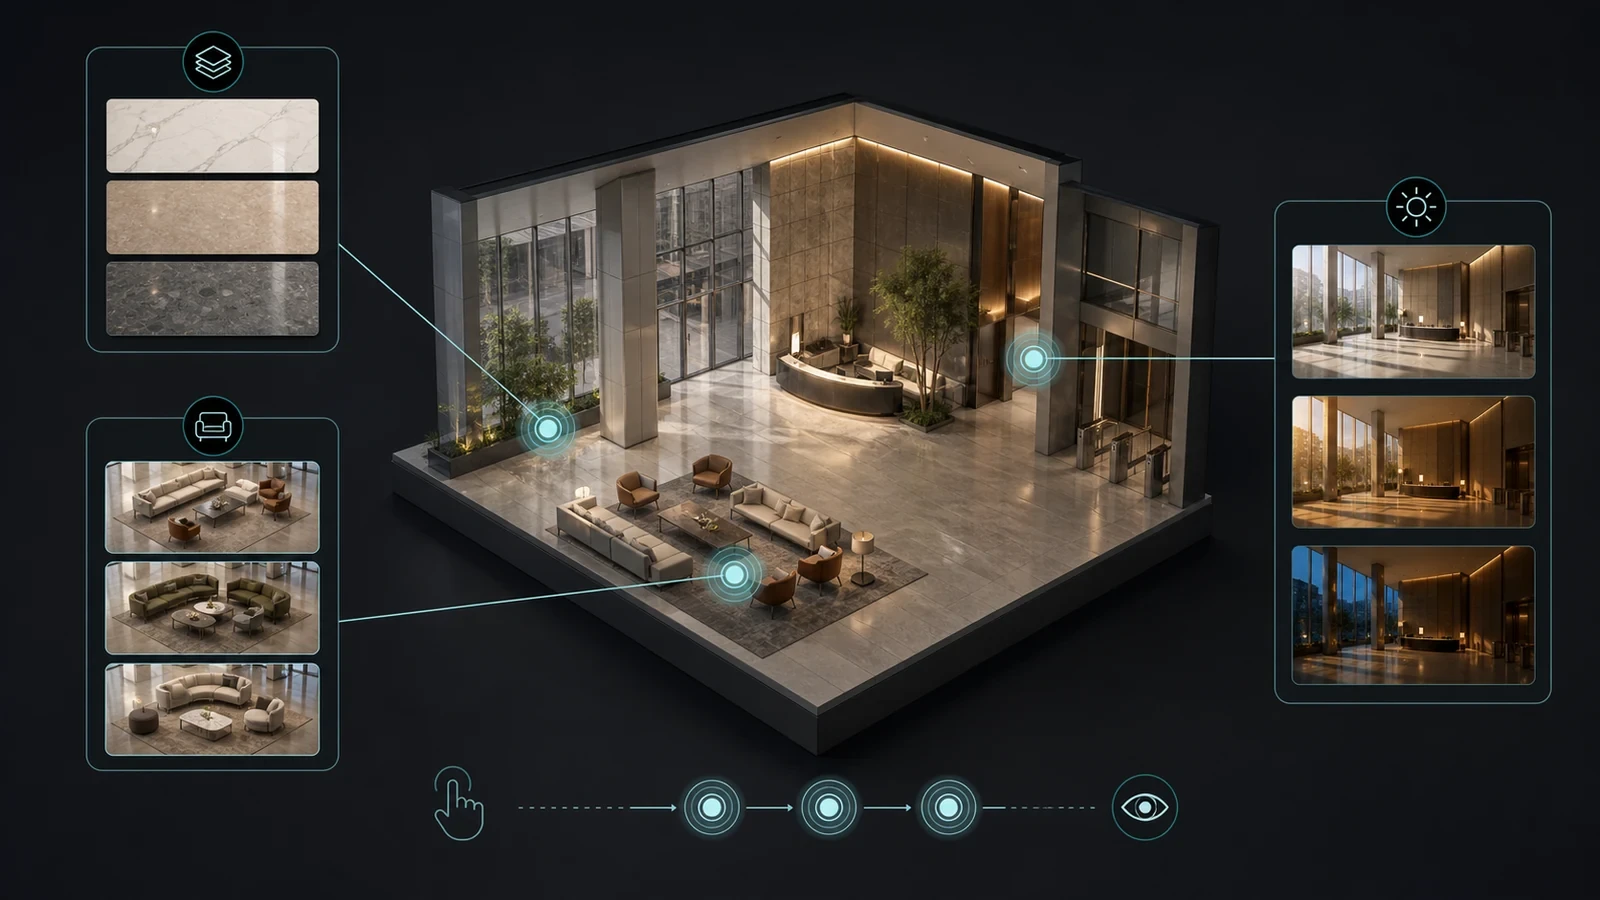
Toggle or List: which trigger behavior should you use?
| Behavior | Use it when | Avoid it when |
|---|---|---|
| Toggle | There are two or three options and the sequence is easy to understand. | The client needs to jump directly to a named option. |
| List | There are several states or their order does not matter. | The choice panel would distract from a very simple A/B comparison. |
Step 5: build slides around the meeting sequence
Slides are chapters, not screenshots. Each slide should introduce a space, frame a decision, or move the audience to the next part of the design.
- Add a slide from the fixed reception camera.
- Bind only
Lobby Floor FinishandLobby Furniture Layoutto this slide. - Create a second slide for the lounge view and activate only the choices visible from that camera.
- Use Manual Play for a working review where conversation controls the pace.
- Use Auto Play only for a controlled sequence such as a lobby display or internal rehearsal.
- Add transition animation sparingly. The design change must remain easy to compare.
Step 6: test in Playback before the client arrives
- Click Play Presentation.
- Move through the complete slide sequence using the navigation controls.
- Click every trigger from the camera positions where it will be used.
- Confirm that each slide exposes only relevant Variable Sets.
- Cycle through all states twice to catch visibility or transform errors.
- Test on the meeting-room display at the intended resolution.
- Keep a conventional rendered still or PDF comparison available as a fallback.
- Every trigger is visible and easy to identify.
- The floor comparison changes only the floor material.
- Furniture groups never overlap.
- Lighting states do not unexpectedly change the camera or material choice.
- The viewport remains responsive through the complete sequence.
- The presenter can describe every change before clicking it.
Optional: share the presentation over the local network
D5’s Pixel Streaming can send the live presentation to a browser on another device without installing D5 Render on that receiving device. D5 generates an Editor link with presentation controls and a Viewer link for view-only access.
The current limitation matters: official D5 documentation describes Pixel Streaming as a LAN workflow. The rendering workstation and receiving device must be on the same local network. Do not promise an internet-accessible client handoff without testing another D5 delivery format such as Spatial Tour, XR Tour, or Panorama Tour.
- Connect the D5 workstation and receiving laptop or tablet to the same reliable network.
- Start Pixel Streaming from the presentation settings.
- Open the Viewer link on a second device and confirm that the scene updates smoothly.
- Share the Editor link only with someone who should control slides and variables.
- Run a five-minute stability test before the meeting.
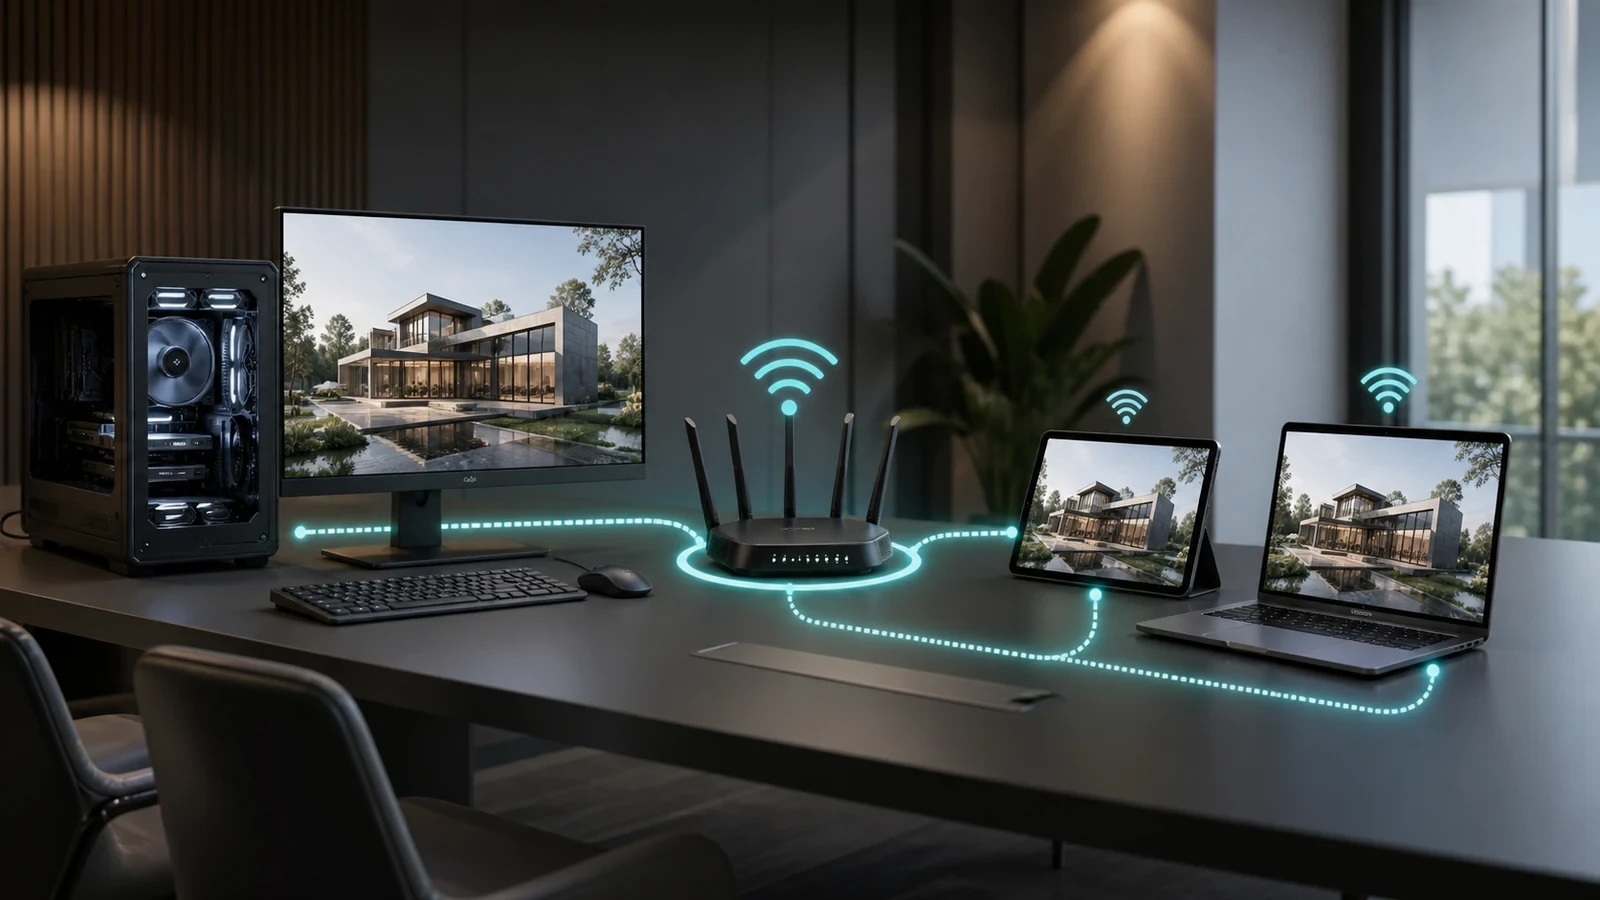
Watch the official D5 3.1 feature overview
Common mistakes and how to fix them
| Problem | Likely cause | Fix |
|---|---|---|
| The client cannot tell what changed. | One state controls too many variables. | Separate materials, furniture, and lighting into different Variable Sets. |
| A trigger is difficult to find. | It is outside the camera view or blends into the scene. | Reposition it, add a concise label, and enable Always Face Camera. |
| Furniture options overlap. | Visibility states were saved with both groups active. | Rebuild each state and verify group visibility before Add State. |
| A material option cannot be stored as planned. | The comparison depends on an unsupported template change. | Avoid switching to Displacement or Terrain Grass inside a Material Variable Set. |
| The browser device cannot connect. | Devices are on different networks or client isolation is enabled. | Use the same LAN and test router restrictions before the meeting. |
| Playback stutters. | The base scene already exceeds the workstation’s comfortable GPU/VRAM load. | Reduce scene pressure and retest at the actual display resolution. |
Where Interactive Presentation fits in a real workflow
Use Interactive Presentation for a guided meeting in which the architect controls the narrative and the client chooses among prepared alternatives. Use a Spatial or XR Tour when stakeholders need to explore independently after the meeting. Use fixed renders when approval records require an unambiguous, versioned image.
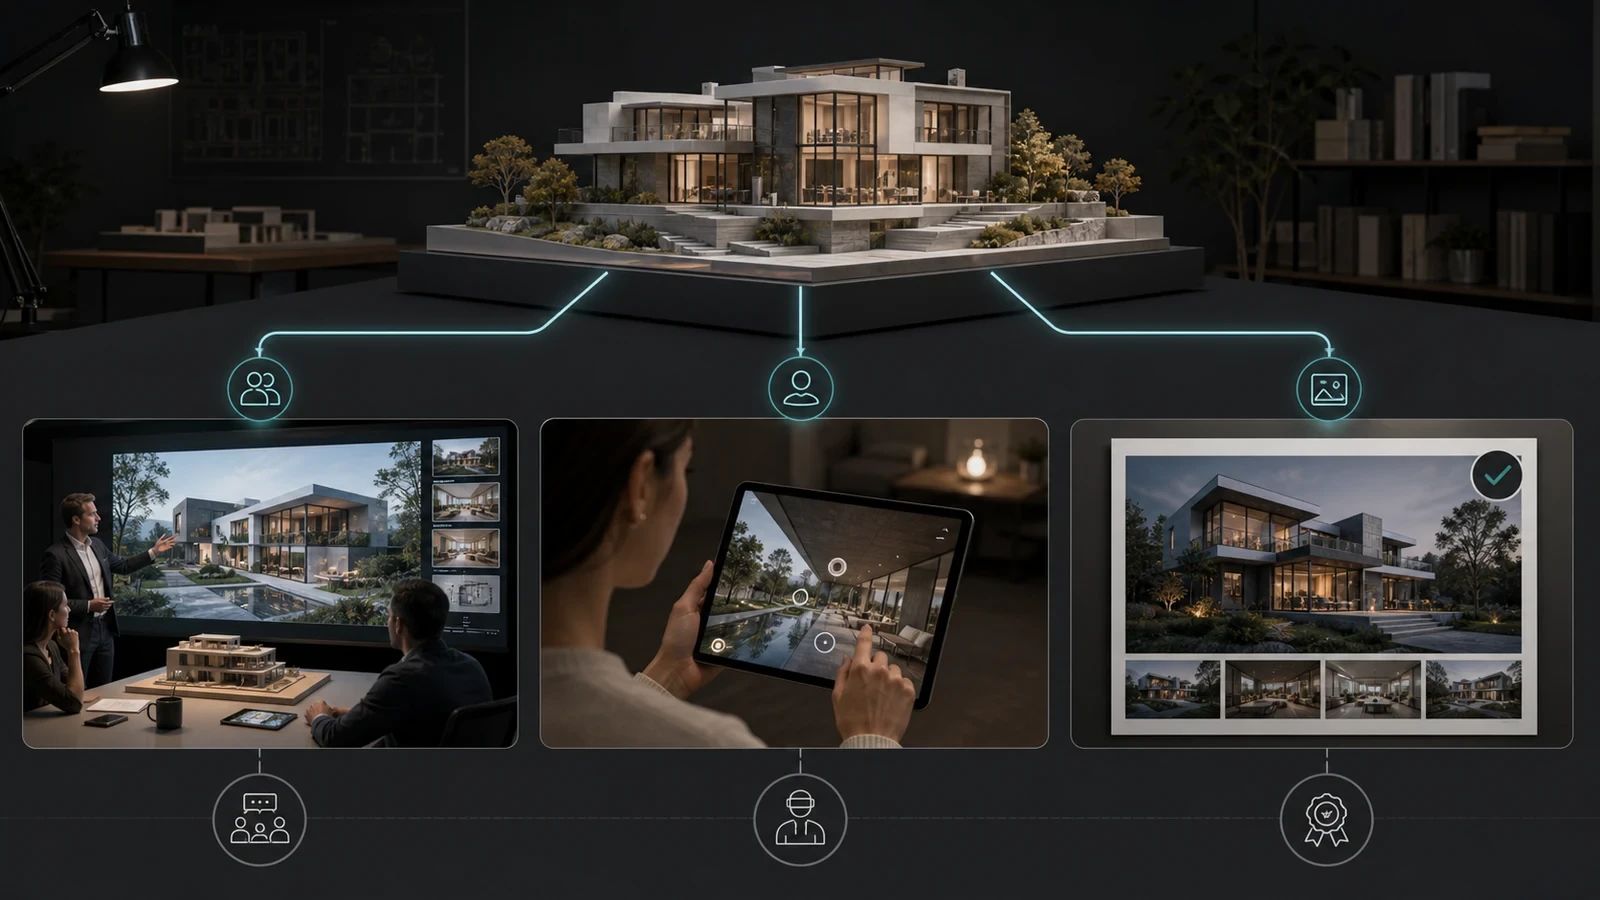
If your project is still at early massing or AI-assisted look development, first use our D5 Render 3.0 AI workflow guide. Move into Interactive Presentation only after the design options are controlled enough to support a productive decision.
Frequently asked questions
Is D5 Render 3.1 Interactive Presentation free?
D5 states that version 3.1 is a free update for existing users and that a Community account can try most features discussed in its release article. Check the current plan comparison for asset, widget, and team limitations before commercial rollout.
Can a Variable Set be reused across slides?
Yes. D5’s official guide says one Variable Set can be bound to several slides. A state change may therefore affect every slide using that set, so test the complete sequence.
Should I use Toggle or List?
Use Toggle for two or three ordered alternatives. Use List when there are several states or when the presenter must jump directly to a named choice.
Can clients open the live presentation remotely?
Pixel Streaming in the verified D5 3.1 workflow requires the same local network. For independent or internet-based review, evaluate Spatial Tour, XR Tour, Panorama Tour, or another approved delivery method.
Does Interactive Presentation replace rendered images?
No. It improves live comparison and discussion. Keep fixed, versioned renders for formal approvals, records, and situations where consistent output matters more than interaction.
- D5 Render — What’s New in D5 3.1: 6 Core Features at a Glance
- D5 Render — How to Set Up an Interactive 3D Presentation in D5 3.1
- D5 Render — D5 3.1 Is Here: Elevate Your Design Presentation Workflow
- D5 Render — System Requirements
- D5 Render — Features
- D5 Official — D5 3.1 Feature Overview
- Maxon — Best Architectural Visualization Software in 2026
Continue Exploring